

The Skier’s Glacier Travel Gear List
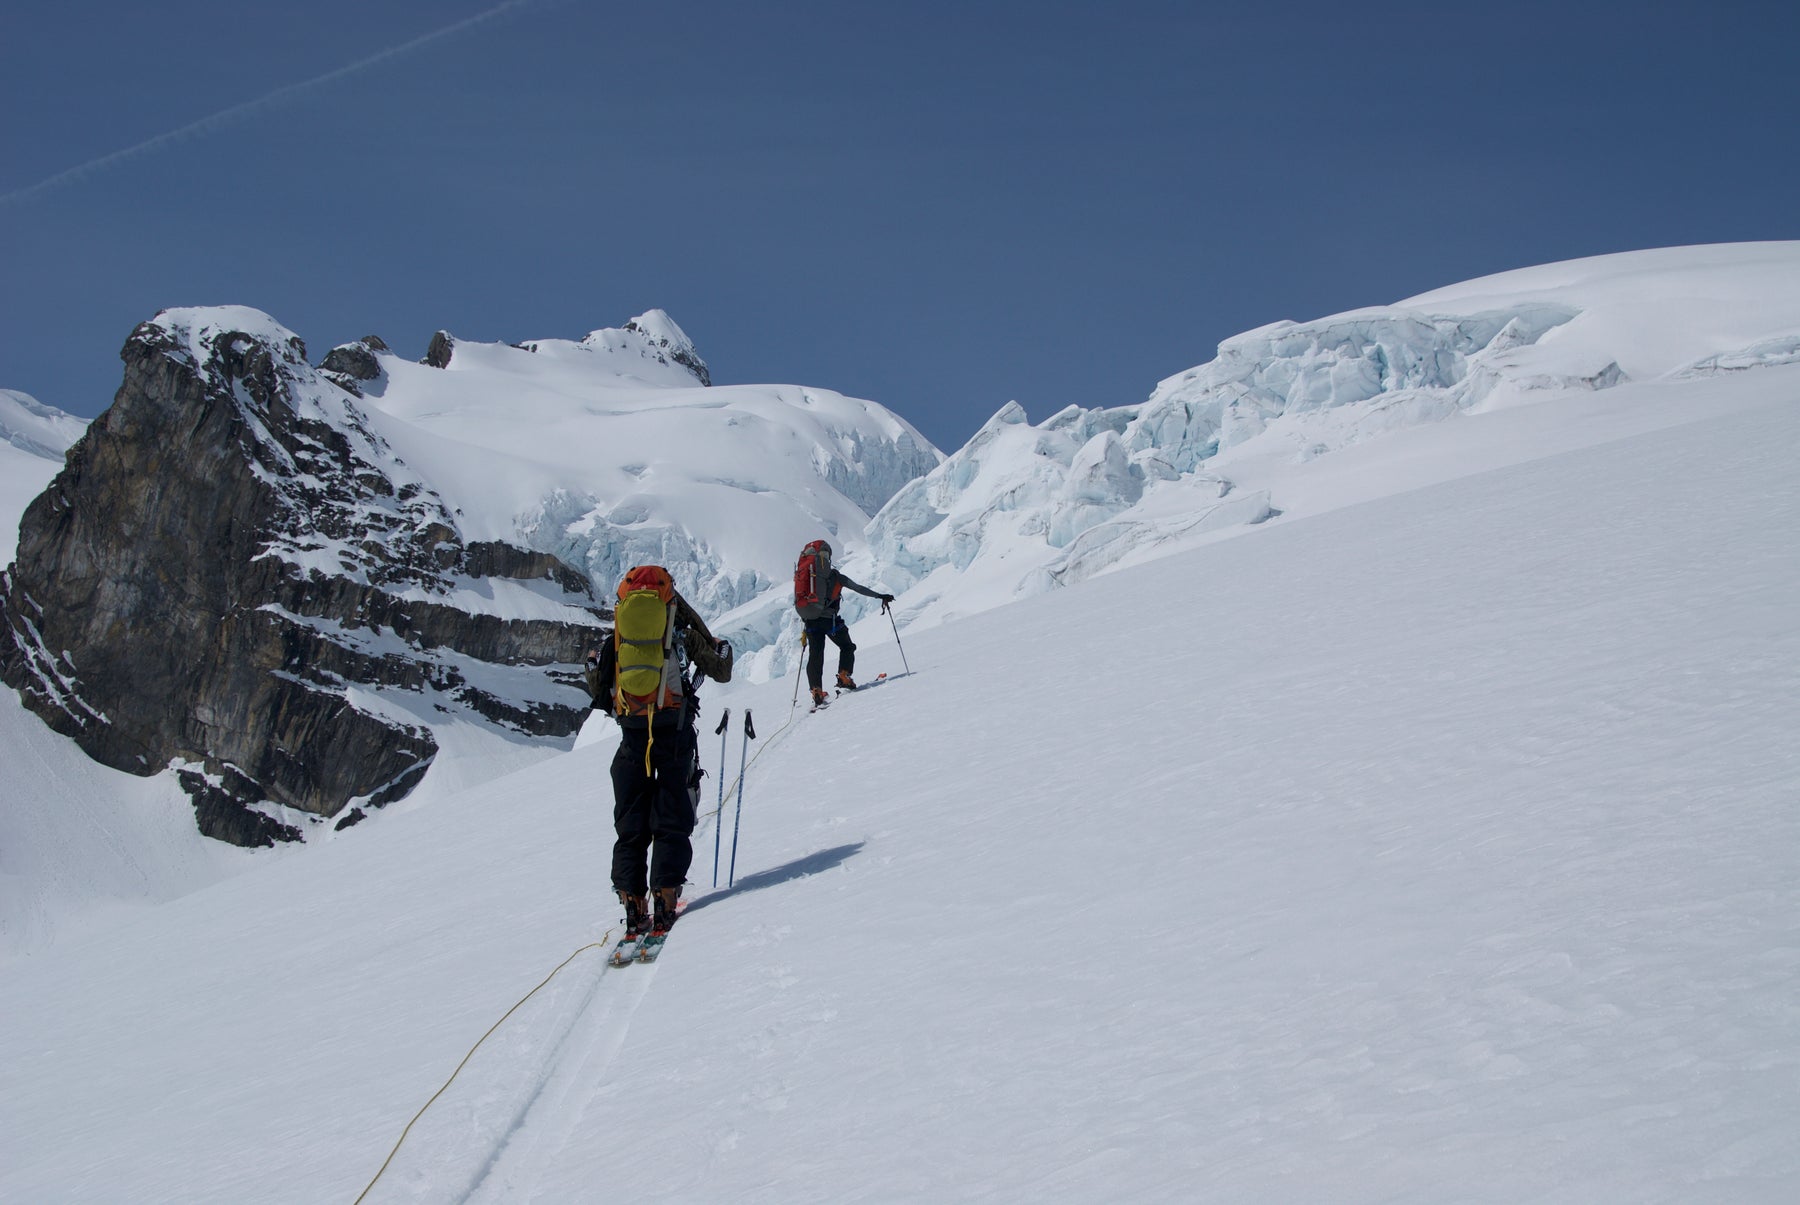
It’s well and truly Spring in the Rockies. Skiers are getting out on the icefields, and tracks are being made on the steepest faces. As you break out that tiny skimo harness for the season, it’s probably a good time to review what most people carry and dangle off of that alpine lingerie. A lot of this gear has multiple purposes, but here we are talking about its primary function of glacier travel and crevasse rescue.
By Kevin Hjertaas from MTN guiding
We need to start by stating that you do not want to fall into a crevasse! Even with well-trained partners equipped with the best gear, you are unlikely to come out of it unharmed. The best way to not fall into a crevasse is to learn about glaciers and where holes are likely to form. Study the glacier you want to travel on (summer photos and winter trip reports are great) and make a route plan that avoids crevasse hazard as much as possible.

Travelling on glaciers when the snowpack and snow bridges are at their strongest (deep snow that is well settled and not melting) reduces your risk of falling in. As does travelling during times of good visibility.
The other point worth reinforcing is that you can’t count on remembering how to perform a crevasse rescue unless you practice regularly. If we’re honest, most groups would struggle to do a Z-pulley efficiently in snowy conditions under stress. For that reason, I recommend most ski groups try to travel as two rope teams with three people on the first rope. That leaves a second rope team that can move independently and either help with a tractor pull or set up a drop loop. Regardless of how you do it, remember to use a shovel and probe to approach and prepare the lip. And check on the victim continuously.
Of course, competent self-rescue is your best tactic whenever possible. Luckily that can be performed with this same gear.
A Glacier Travel & Crevasse Rescue Course covers all of this, so sign up for one next season to gain some hands-on experience and instruction. MTNGuiding.com

Now to the fun bits…
Ski Straps - Sewn Sling - Ice Screw(s)
Let’s start at the anchor. Skiers will most often be using a T-slot anchor built out of skis. You’ll want a ski strap or two to prevent your skis from scissoring. While it’s possible to tie the rope directly around the anchor, it’s easier to use a sling (say 120-240cm long). You’ll likely want a couple of ice screws as well in case the snow is too shallow or weak for a T-slot. Skiers often only carry one long, lightweight screw, assuming that their partners can donate a second to build a quick anchor. With one long screw and a bit of practice, you can learn to make a V-thread as well.
Auto-Locking Carabiner
It’s most convenient to use an auto-locking carabiner to attach to the rope for travel on snow. If you need to use a screw-gate biner, oppose it with a non-locker in case the gate slowly screws open as you slog along.
Cordelette - Hollow Block
Some skiers will want to travel with a prussik attached to the rope to aid them with a rescue if needed. The diameter of cordlette that you use will depend on the diameter of rope you are using. It needs to bite and hold the rope, which usually takes a 2mm diameter change between it and the rope. A 5m length gives you lots of flexibility to use that cordelette for self-rescue or transferring the load to an anchor.
Note: thinner diameters are weaker and may need to be doubled in anchors. Always read the manufacturer’s specifications.
A Sterling Hollow Block is a quick and easy prussik maker but it too has it’s limitations (not certified for Petzl Rad Lines for example). It’s made from braided Technora and bites well on any rope 7mm or thicker.
Micro Traxion or Nano Traxion
Things get more technical when we start building rescue systems. If you are hauling someone up, you will need a progress capture. Dual prussiks, prussik-minding pulleys, ATC’s, or garda hitches are all progress captures you may have learned to use. Each has its own gear that is needed. But the Petzl Micro Traxion Pulley is quickly becoming the standard because of its simplicity. It’s a high-efficiency pulley with a toothed cam that allows you to pull easily one way while blocking the rope from sliding the other way. If you have ever struggled with prussiks or forgotten how to perform a rescue, do yourself a favour and get a Micro Traxion!
Tibloc
Tooth devices like the Tibloc or Micro Traxion have their limitations (and concerns in snow/ice), so read the manufacturer’s recommendations and use them carefully, but their speed and simplicity make them almost invaluable for glacier skiers. Most people add the Petzl Tibloc to their kit for the same reason. These tiny units can replace a prussik quickly and efficiently, but make sure you have a carabiner that will work with the Tibloc.
Pulley
What about a pulley, you ask? They can really help as most crevasse rescue systems amass a lot of friction, both in the snow and in all the 180 degree turns the rope has to take. Any pulley will be helpful, but higher efficiency ones are the best. The pulley built into a DMM revolver carabiner for example, will not save you as much friction as a Petzl Partner Pully. Bonus points for anyone who remembers where in the system you get the most benefit from using a pulley!
Carabiners
Your anchor points and any crucial pieces will need a locking carabiner. Other points will be fine with lighter non-lockers. Carabiner shape matters as well. The Tibloc needs a specific shape of biner to bite the rope correctly, and if you are going to use a Garda Hitch in your system, you’ll need two identical non-locking biners. Remember that you want to keep it light, but if you make any mistakes in building your system (and that’s likely), you’ll probably need an extra biner to reverse a step or solve a problem. So how many do you need? That depends on the rescue system you have practiced and are planning on using and on how many people are in your group. Our standard kit is listed below.
Ropes
For a great breakdown on different ropes for glacier travel, check out this post by Eric Carter.
Helmet ?
In Europe, skiers travel on glaciers way more frequently, and they’ve gained more experience with crevasse rescue. I haven’t skied the Alps in years, but friends who have recently tell me that helmets have become the norm on glaciers, even if you are a skier who doesn’t use one otherwise. Skiers will put their helmets on for touring up glaciers because one of the most common injuries with a crevasse fall is a head injury. Something new for us Canadians to think about!
Harness
You probably don’t need to overthink your harness when it comes to skiing. Unlike climbing, you hope not to hang in it much. But, it does need to fit you properly. Make sure that you can comfortably walk and wear a backpack with it on. Any rubbing or hot spots will drive you nuts by the third day of slogging. Beyond that, most skiers will want the lightest harness they can find and one that is easy to put on while wearing skis. Look for leg loops open and close easily and a waist strap that you can do up with gloves on.
Alright, here’s the list you’ve been waiting for. This is just a generic glacier kit. There are times you’ll want to add to it (small groups, heavier gear, more mountaineering-based objectives, etc.). There are times you might be able to lighten it up (bigger groups in less crevassed terrain, more techniques and tricks to eliminate some gear). But this a good starting point.

The SkiUphill / M-T-N Guiding Glacier Gear List:
Cordelette:
- 1 x 5-7mm diameter and 5m length
- 1 x 5 to 6 mm diameter - 2m length for prussiks (Hollow Block is a great replacement with some ropes)
Sling
- 1 x 120cm-plus length
Carabiners
- 1 x auto-locking (Triple-Action)
- 3 x locking
- 4 x non-locking (2 of the same shape if using a Garda Hitch)
- 1 x 19cm-plus length (will want 2 for an anchor, so add a second in smaller groups)
Petzl Micro Traxion (or a different progress capture)
Tibloc
Harness
Helmet
Rope(s)